
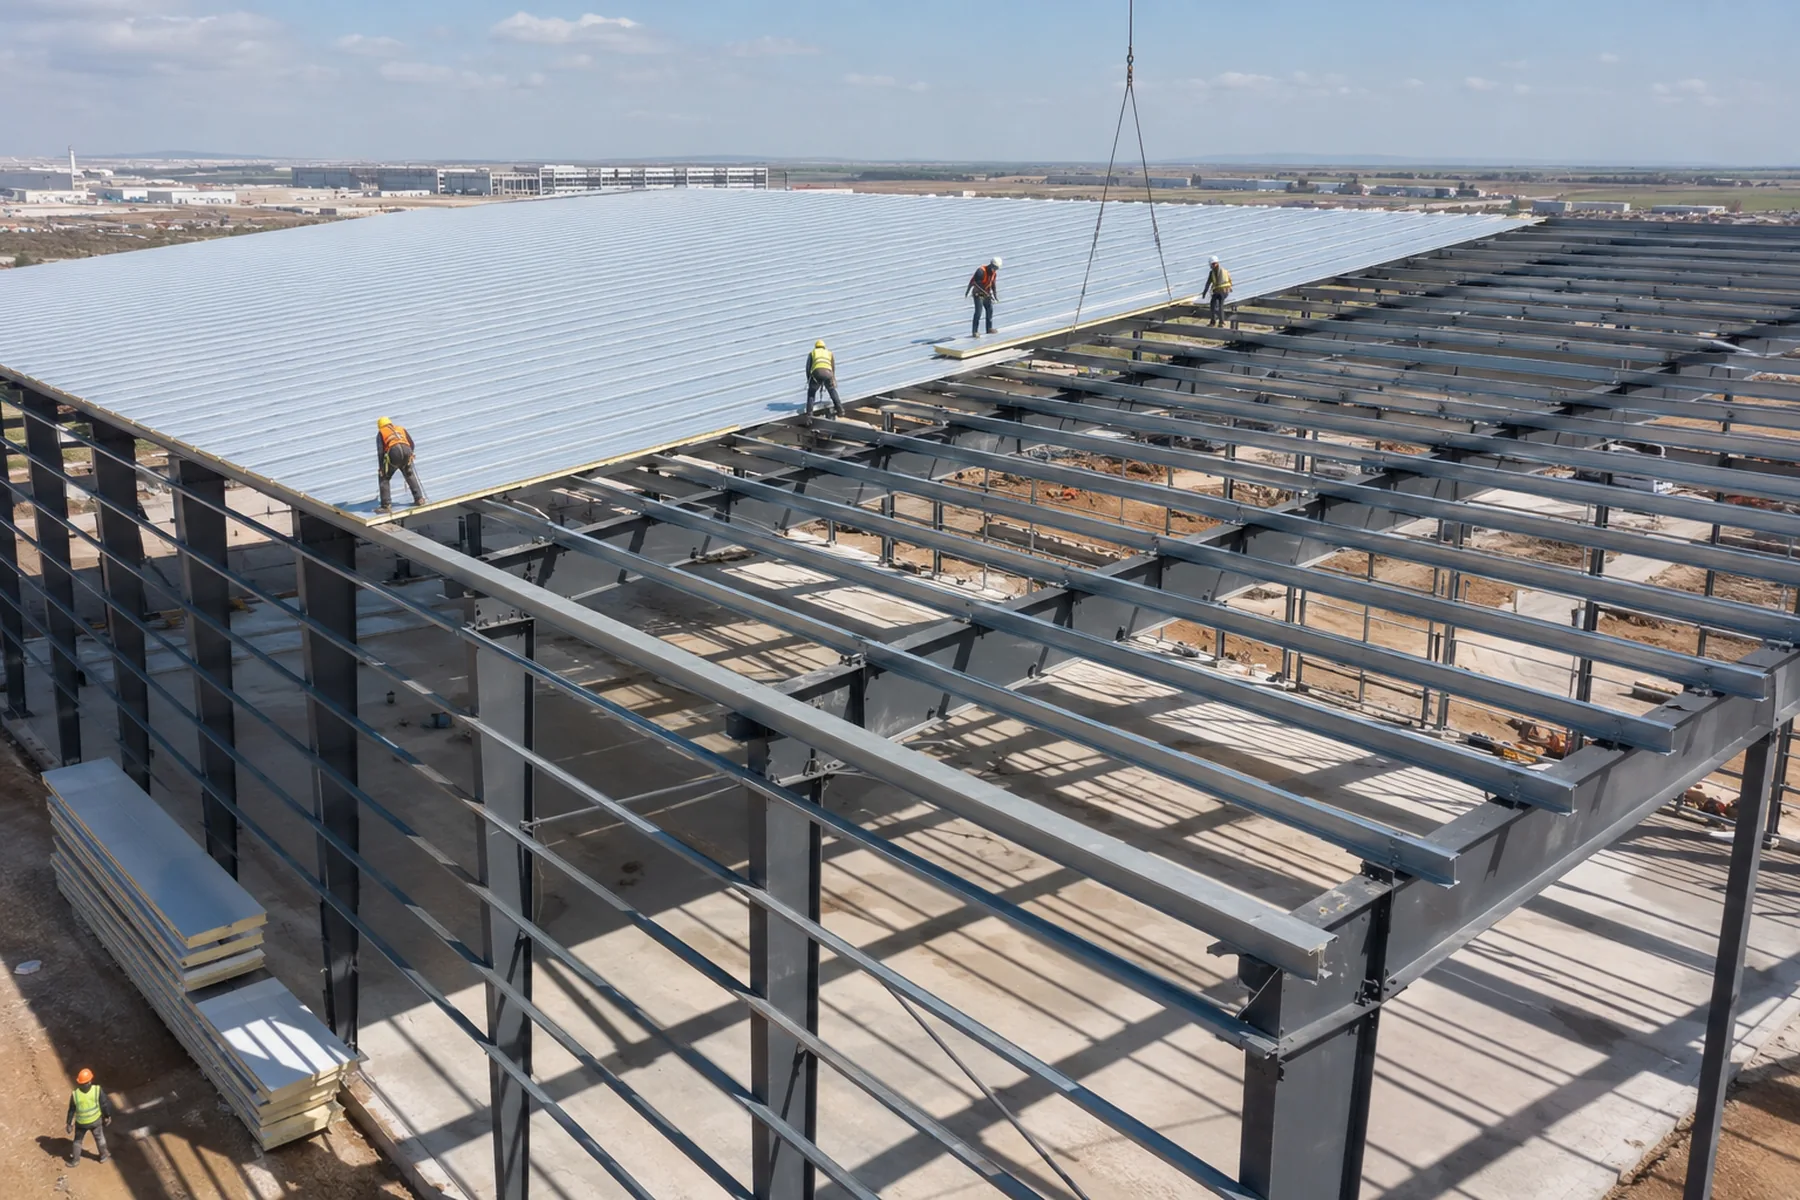
ROOF PANEL INSTALLATION COORDINATION
Sandwich Roof Panel Installation Guide: Roof Slope, Joints, Fasteners and Flashings
Coordinate the selected panel system, approved drawings, roof supports, joints, fixings, flashings, drainage and site work before installation begins.
Quick answer
What Should Be Coordinated Before Roof Panel Installation?
Installation should not start from a generic rule of thumb. Confirm the approved roof layout, selected sandwich panel profile, support arrangement, panel direction, joint details, fixing method, flashings, penetrations and drainage path first. The applicable slope, spacing, overlaps, sealants and fixings must come from the approved project drawings, the selected panel system and its manufacturer documentation.
Before installation
Confirm the Complete Roof System, Not Panels Alone
A panel order may be correct while the installation plan is incomplete. Buyers, designers, suppliers and site teams should review the interfaces that determine whether the roof can be set out, fixed, sealed and drained as intended.
Approved information
Roof drawings, support layout, panel profile, panel orientation, opening schedule and accessory details.
Site readiness
Support alignment, access, unloading, lifting, storage, weather conditions and safe work arrangements.
System interfaces
Ridge, eave, gutter, wall junctions, penetrations, closures, sealants and roof-mounted equipment.
Where material selection is still open, compare sandwich panel core materials before finalizing the roof system. Product-specific details should then be checked against the selected panel documentation.
Panel layout and starting alignment
Set Out the First Panel Before Errors Can Accumulate
The first panel establishes the working line for the roof. Starting alignment, effective cover width and the sequence across the roof should be checked against the structural grid and approved roof plan.
Verify the supports
Confirm that purlins and edge supports are installed, aligned and ready to receive the selected panel system. Support spacing must be project-specific; review panel support spacing verification when a proposed layout needs technical confirmation.
Mark the starting line
Coordinate the eave edge, roof geometry, overhang, gutter position and panel direction before the first panel is fixed.
Check progress across the roof
Monitor alignment and cumulative cover as work proceeds. Do not force panels into position to recover an earlier set-out error.
Fasteners, joints and sealants
Use the Selected System Detail at Every Connection
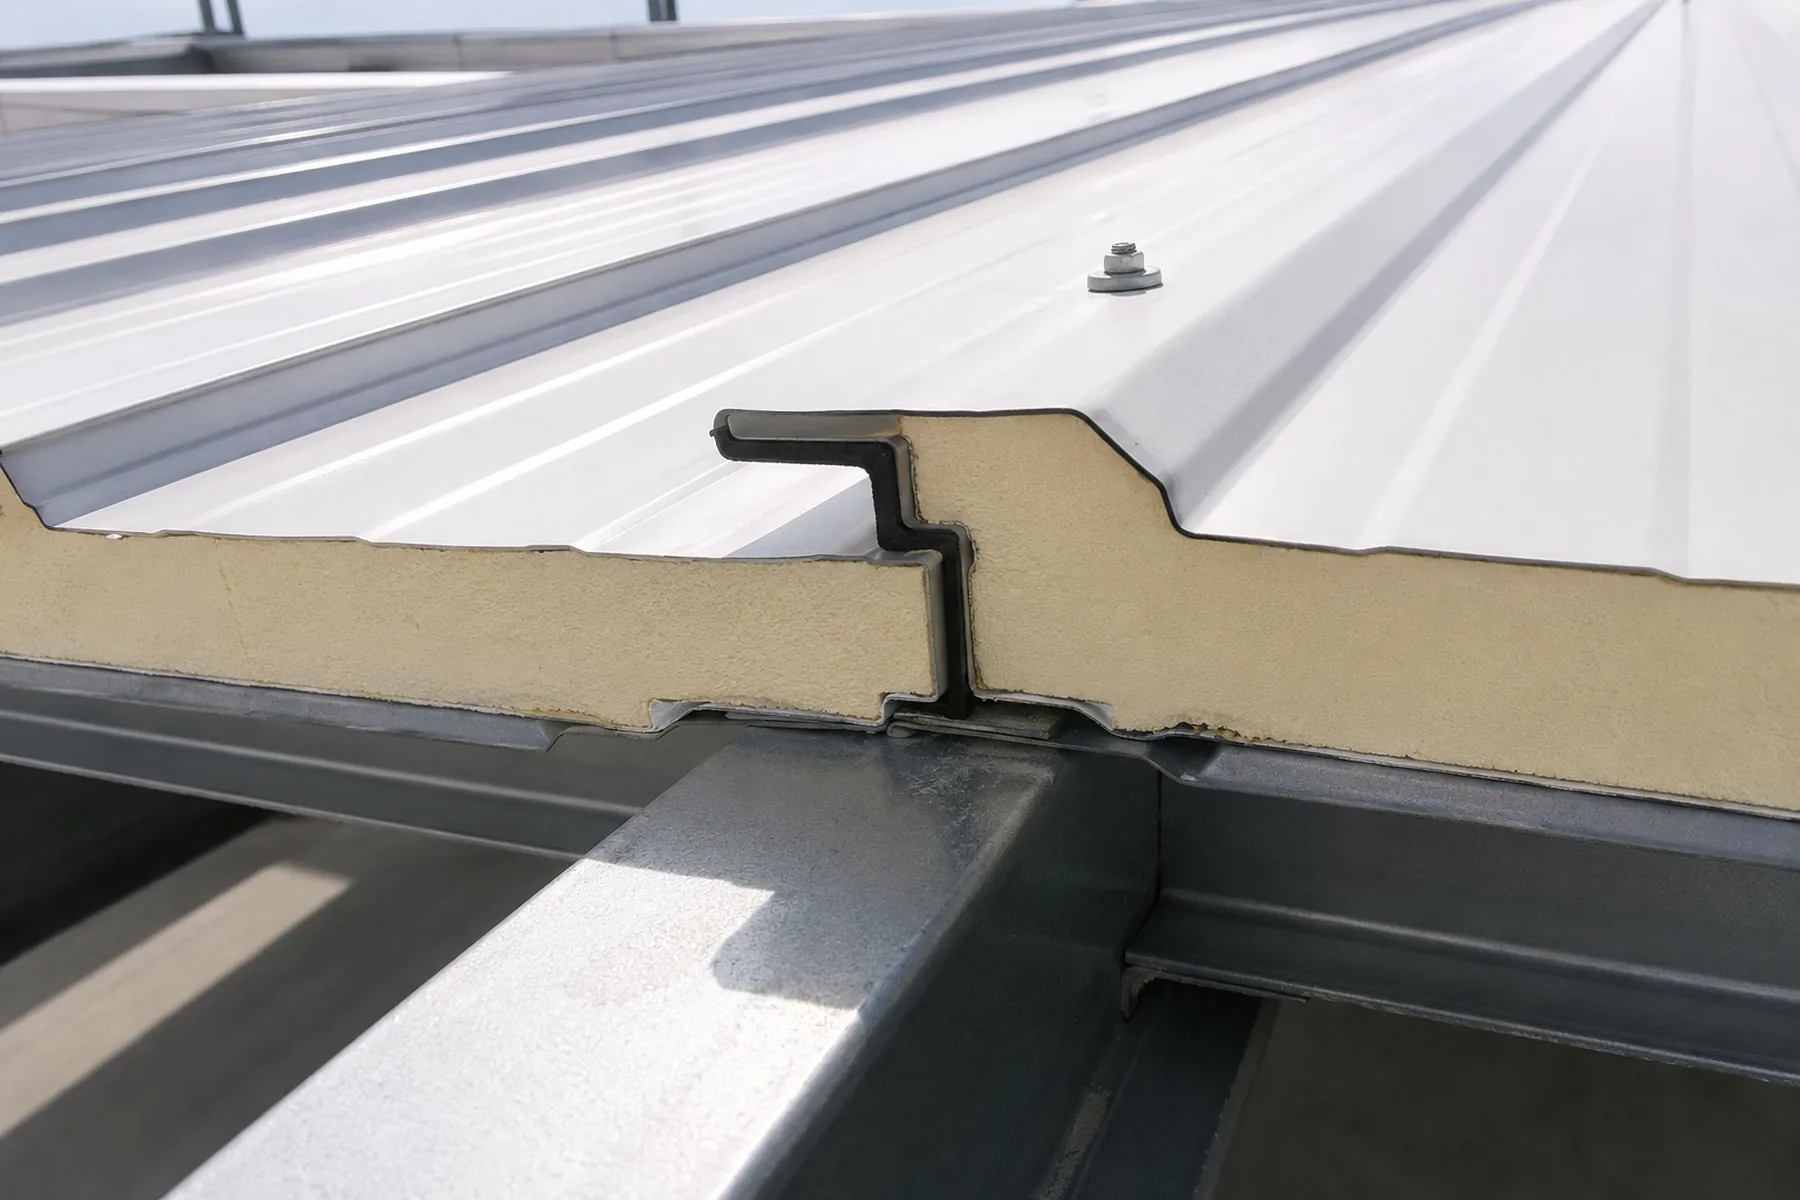
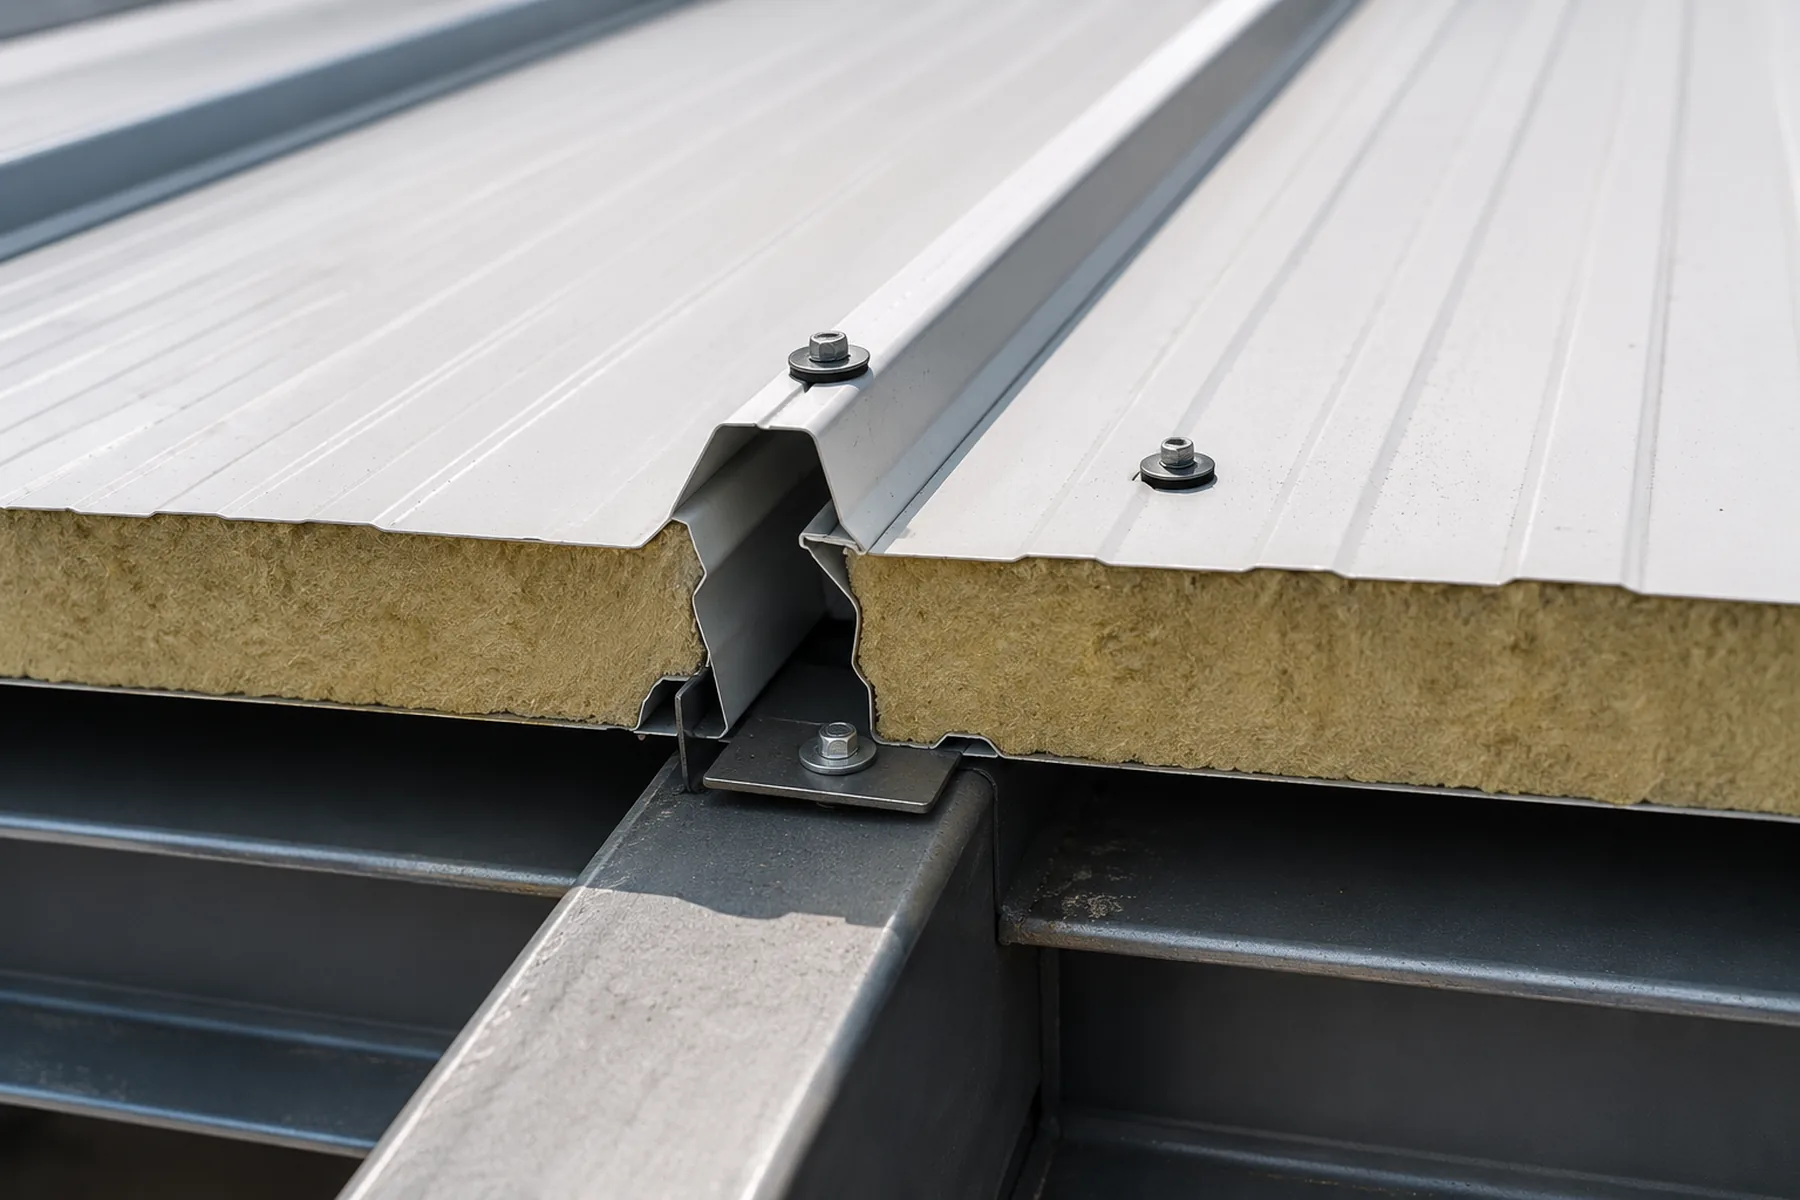
Fastener type, length, washer, fixing position and installation method depend on the panel profile, support material, design actions and exposure. Side-lap engagement, closure components and sealing materials also vary between systems.
Confirm compatible components before site work. Keep sealing surfaces clean and dry, seat panels without damage, and check that washers are compressed as required without distorting the facing. Do not copy screw spacing, fastener quantities, lap dimensions, sealant types or torque values from another project.
Ridge, eave, flashings and penetrations
Resolve Roof Edges and Openings as One Detail Package
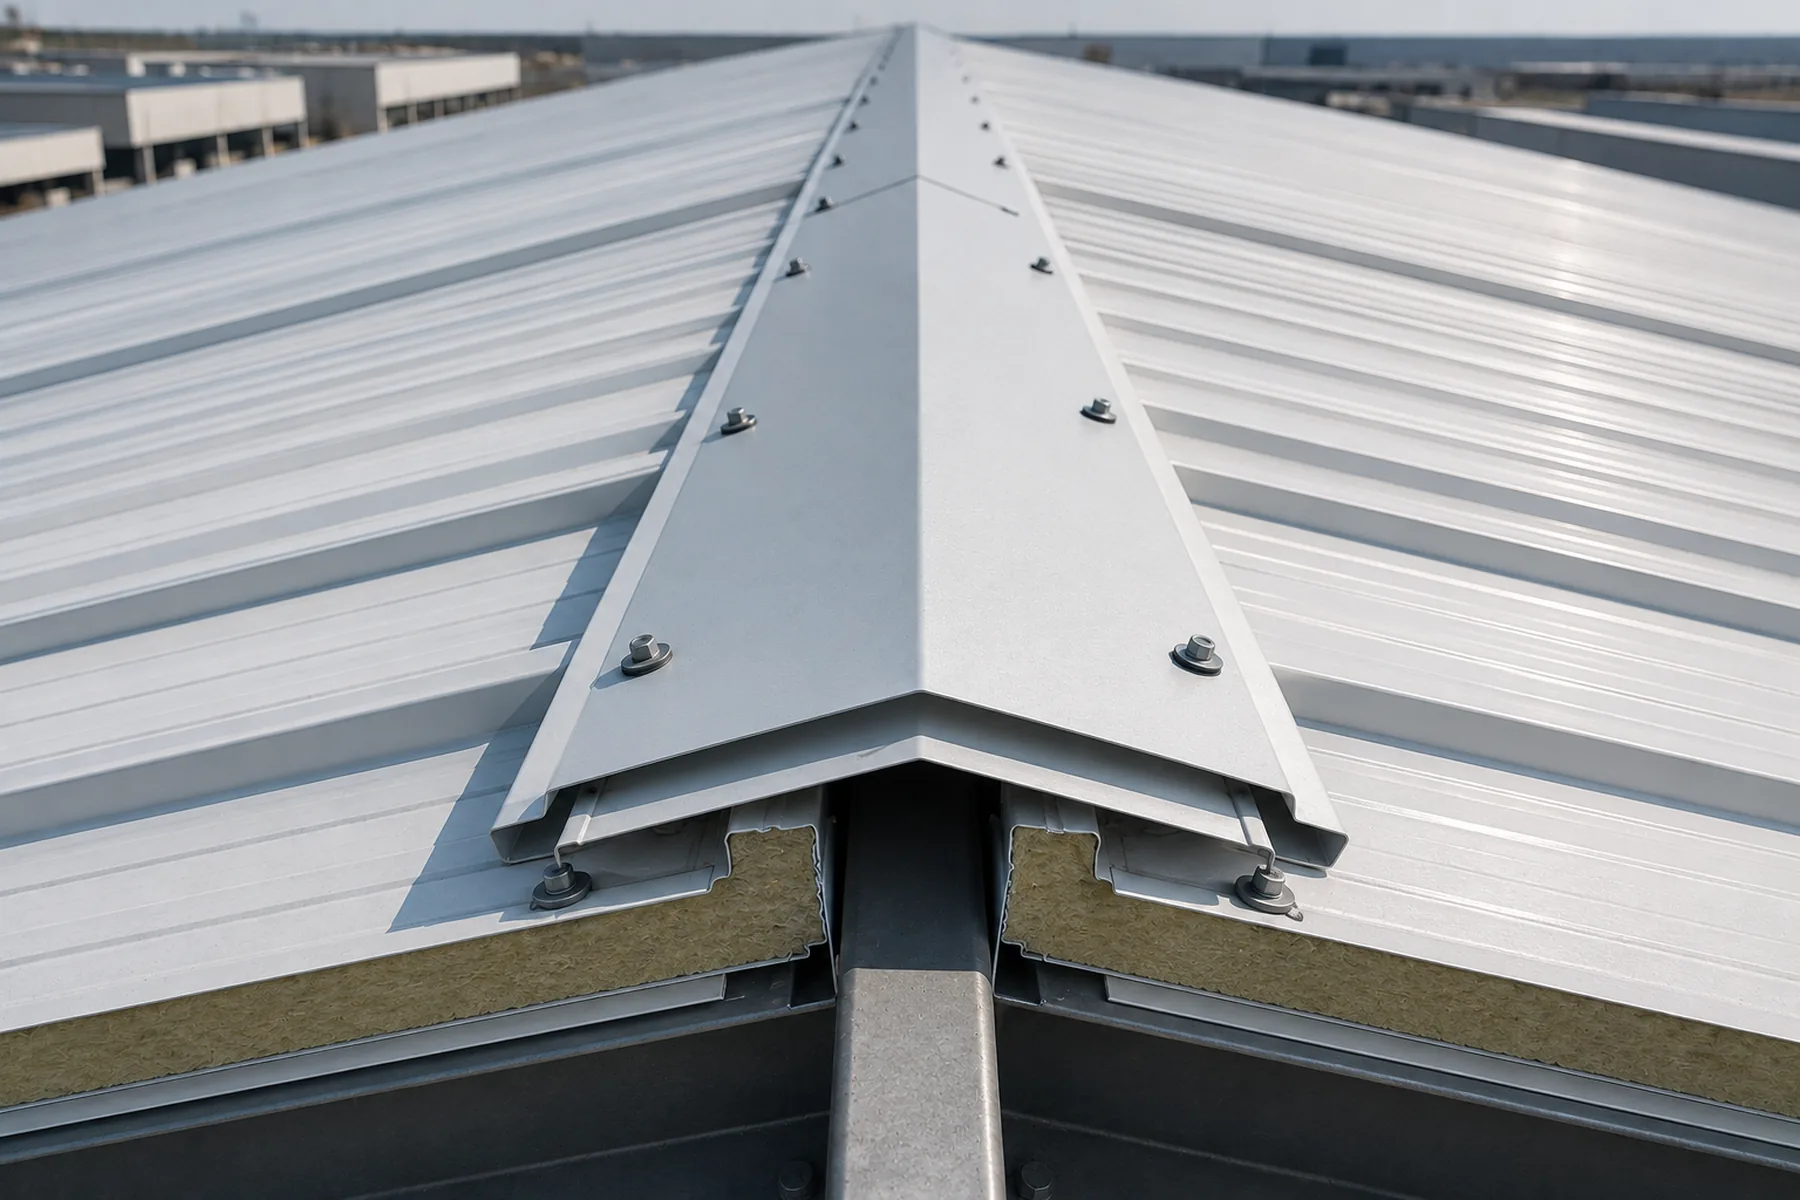
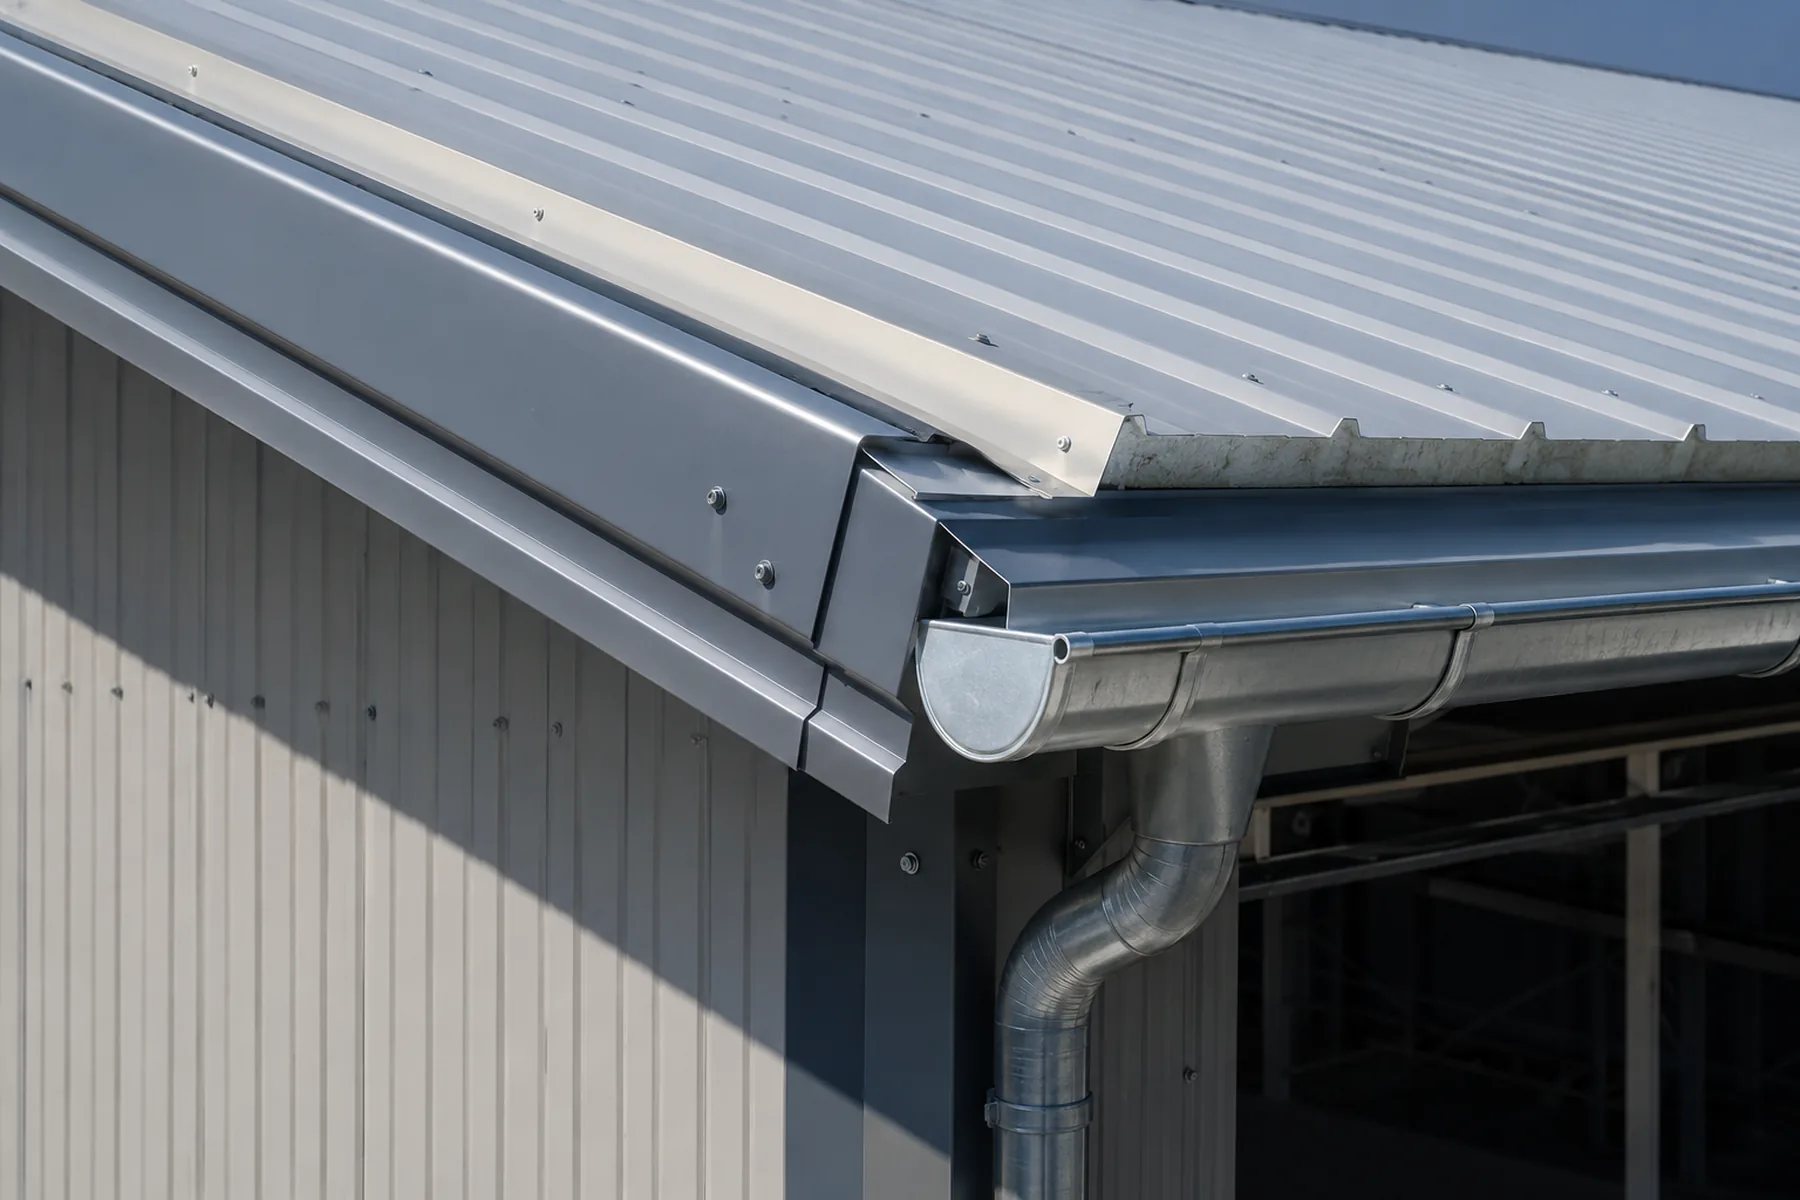
Ridges, eaves, gutters, wall junctions and penetrations interrupt the main panel field. Their flashings, closures, overlaps and sealing sequence should be coordinated with the roof slope, panel profile and drainage design.
Ridge and high points
Check ridge opening, matching closures, ventilation intent, flashing shape, fixing and sealing sequence against the approved detail.
Eaves and gutters
Coordinate panel termination, drip edge, gutter position, support and discharge route. Use the project drainage design, not a universal gutter dimension.
Penetrations
Locate skylights, vents, ducts and equipment curbs before production where possible. Review support, water diversion and flashing interfaces.
Transitions
Confirm valley, change-of-level, canopy and roof-to-wall details before panels are cut or fixed on site.
For the wider drainage context, use the steel building roof drainage planning guide together with the approved roof and civil drainage drawings.
Water management boundary
Watertightness Depends on the Complete Installed Roof
Core material or panel supply alone does not establish roof watertightness. Performance depends on the complete assembly and the way its interfaces are designed, installed and maintained.
- Selected panel profile and joint system
- Roof geometry and drainage path
- Flashings, closures and penetrations
- Compatible fixings and sealants
- Installation quality and final inspection
- Available project and manufacturer documentation
Handling, cutting and coating damage
Protect the Panels Before They Become Part of the Roof
Plan unloading, temporary storage, lifting and movement to prevent bending, impact, wet storage and damage to the panel edges or protective finish. Long panels may require coordinated lifting points and controlled handling based on supplier guidance.
Minimize site cutting. Where approved cutting is necessary, use a suitable method, protect nearby surfaces and remove metal filings promptly. Inspect scratches, exposed edges and damaged coatings and repair them using the approved treatment for the selected facing system.
Safety boundary
Installation Planning Does Not Replace a Site Safety Plan
Roof work involves fall, lifting, weather, access and material-handling hazards. A competent site team should prepare the work method, access arrangements, fall protection, lifting plan, exclusion zones and weather limits required by the project and local rules.
Common installation problems
Find Coordination Gaps Before They Become Roof Defects
Project teams can also review the broader guide on avoiding installation problems in overseas steel structure projects.
Inspection before handover
Check the Installed Roof as a Continuous System
The final review should follow the approved drawings, selected panel documentation and project inspection plan. Record incomplete or damaged work before access is removed.
- Panel alignment and completed coverage
- Joint engagement and sealing continuity
- Fastener location, seating and washers
- Ridge, eave and edge flashings
- Gutters, outlets and drainage paths
- Skylights, vents and penetrations
- Closures and transition details
- Scratches, exposed edges and repair work
- Loose filings, debris and packaging
- Photographic and inspection records
Approved system and drawing boundary
Use This Guide to Coordinate Questions, Not to Set Project Values
This page identifies the installation decisions that buyers and project teams should resolve. It does not establish a universal roof slope, purlin spacing, screw spacing, fastener quantity, lap dimension, sealant, torque, flashing size, gutter size or wind resistance.
Those values and details must be confirmed through the approved project drawings, selected panel system, manufacturer documentation and project specification before fabrication, ordering or installation.
For product routing, compare the EPS roof sandwich panel, PU roof sandwich panel and PU-edge-sealed rock wool roof panel pages.
Coordinate the Roof Panel System Before Ordering
Share the roof drawings, project location, selected panel profile, support layout, openings and accessory requirements for a focused review.
Related roof and panel guides
Continue With the Detail That Matches Your Decision
Review EPS, PU, PIR and rock wool selection boundaries.
Coordinate roof geometry, collection points and site discharge.
Understand why panel support layouts need project-specific confirmation.
Frequently asked questions
Sandwich Roof Panel Installation FAQ
What roof slope is required for sandwich roof panels?
The required roof slope depends on the panel profile, roof length, joint arrangement, drainage design and local weather conditions. The approved panel specification and project drawings should be checked before installation.
How are sandwich roof panel joints sealed?
Joint sealing may use factory-formed interlocking profiles, sealing tape, compatible sealant or closure components depending on the panel system. The supplier’s approved joint detail should be followed.
Where should roof panel fasteners be installed?
Fastener position depends on the panel profile, support arrangement, wind requirements and selected fixing system. Fasteners should be installed at the specified fixing points using suitable sealing washers.
How is ridge flashing installed on sandwich roof panels?
The ridge flashing should match the roof slope and panel profile and should be coordinated with the ridge opening, closures, overlaps, sealing and ventilation requirements.
What should be checked after roof panel installation?
The final inspection should review panel alignment, joints, fasteners, flashings, gutters, penetrations, coating damage, loose metal filings, drainage paths and any incomplete sealing work.
Request a Roof Panel Installation Review
Send the available roof drawings, panel selection and site requirements so the open coordination items can be identified before quotation or ordering.